
Face Straight on Crop
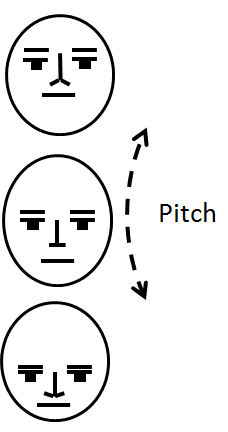
Face Pitch Crop
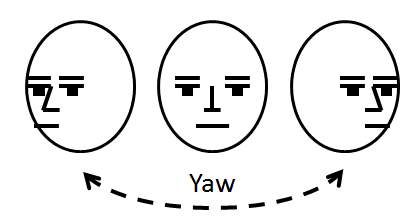
Face Yaw Crop


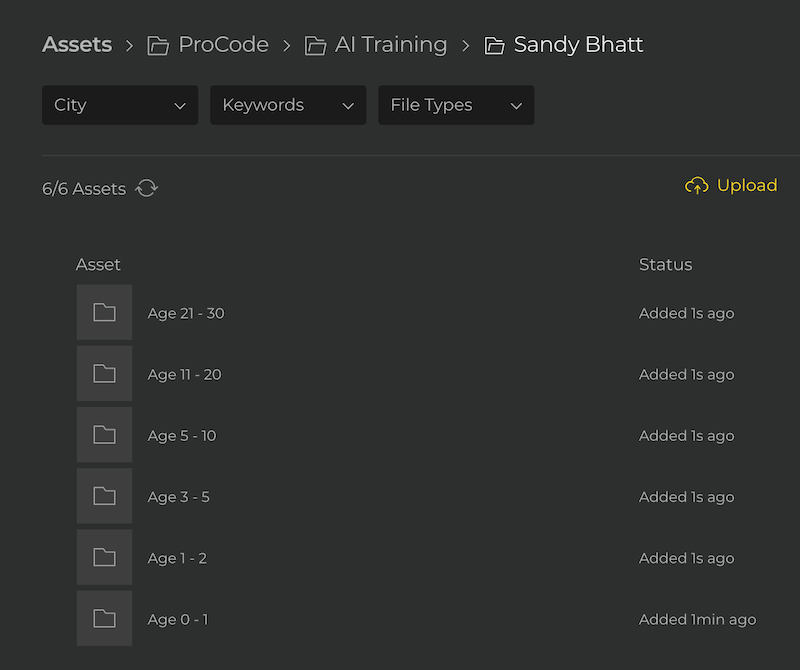
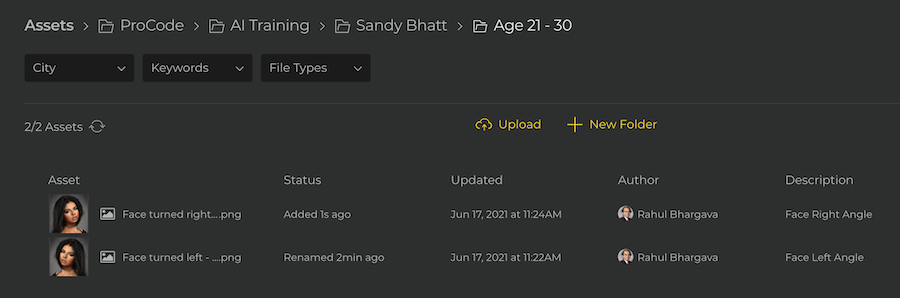
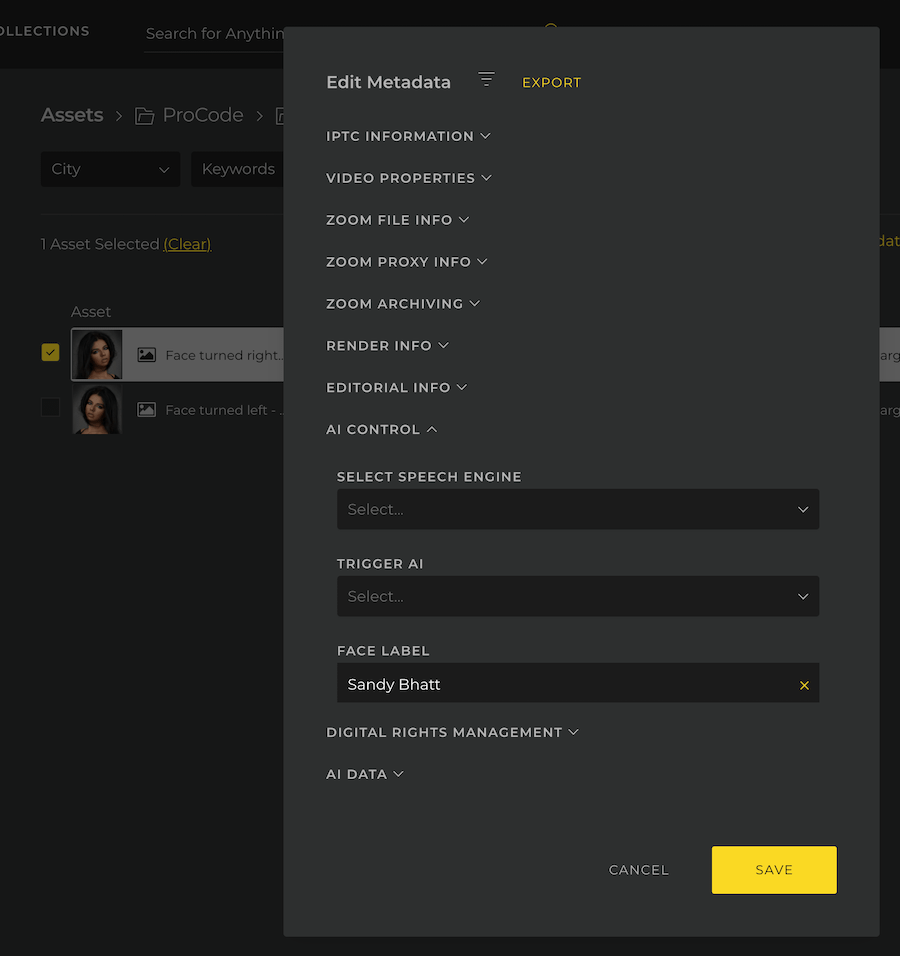
Setup your Project & Media Store Folders
Before you start editing projects using the Zoom Desktop app or Plugins, you need to setup your Zoom workspace folders. This article will walk you through the setup along with common tips & tricks.