Zoom Workflow supports the addition of metadata to Jobs or Tasks. This metadata is useful for categorization, as well as, reporting/analytic of workflow performance based on them.
How to Set-up Custom Workflow Metadata
- Open the Zoom Server’s Web Management Console (http://<server address>:<port e.g. 8443>).
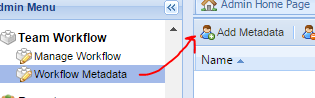
- In the left panel open the tab Team Workflow > Workflow Metadata.
- The pre-existing workflow metadata will be displayed in the table. One system metadata is always present – ‘note‘ for placing comments for a Job.
- To create new metadata schema, click on the “Add Metadata” button. In the pop-up that opens, fill up the enabled fields and click on save. A description of the metadata schema fields is given below.

- Similarly, you can edit the scheme of any created metadata by selecting its row in the table and clicking on the “Edit Metadata” button.
- Multiple metadata schemas can be deleted by selecting multiple rows of the table and clicking on the “Delete Metadata” button.
Description of New Metadata Schema Fields:
- Name – The unique system name of the metadata. It must not contain any spaces or special characters. It is preferable to keep as short a name as possible. The name cannot be edited once saved.
- Label – The user-visible name of the metadata. This can be any text (including multiple words) which would make it comprehensible to users.
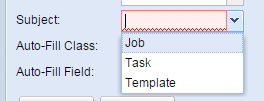
- Subject – The metadata applies to a Job, Task or a Template. Job metadata will be visible in the Job Info panel. Task Metadata will be visible in the Task Info Panel.
- Metadata Type – Currently, Zoom supports 4 kinds of metadata – Text, Numeric, Date, and Auto-Fill.
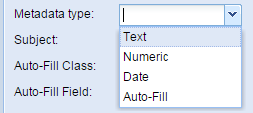
- Text – The stored metadata would be treated as plain text.
- Numeric – The stored metadata would be a number.
- Date – The stored metadata would be treated as a date value.
- Auto-Fill – The stored metadata would be auto-filled by Zoom Workflow tool itself from a parent of the Job, without any user input. The following defines what data is filled in:
- Auto-Fill Class: There is only 1 class supported right now, more could be added later –
- Template: Template refers to the workflow template from which the job was created.
- Auto-Fill Field: The field of the auto-fill class which is to be read and stored in the custom metadata.
- For Template auto-fill class, the – Name – is the only field supported right now, more could be added later
- Auto-Fill Class: There is only 1 class supported right now, more could be added later –
How to Fill in Job Metadata
- Open the Team Workflow > Manage Workflow tab in the Zoom server Web Management Console.
- Right-click on any Job name in the left-hand side list and open the “Edit Job Info” panel.
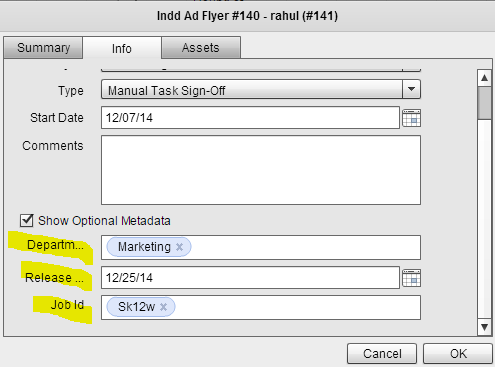
- Open the “Info” tab of the Job Info panel.
- All the workflow metadata fields will be listed below, along with other job info fields. This, of course, excludes the Auto-Fill metadata schema, which is filled up automatically by the system.
- You can fill in the metadata fields and/or view and edit existing metadata values.
- The metadata values are saved along with the job when clicking on the Save button of the workflow editor.
How to Fill in Task Metadata
- Open the Team Workflow > Manage Workflow tab in the Zoom server Web ManConsole.
- Select a Job name in the left-hand side list
- Right-click on any task name in the design view or double click on the task name and open the “Edit Task Info” panel.
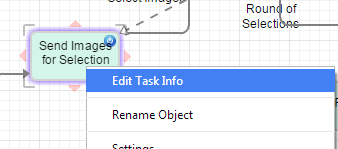
- Open the “Info” tab of the Task Info panel.
- All the task metadata fields will be listed below, along with other task info fields. This, of course, excludes the Auto-Fill metadata schema, which is filled up automatically by the system.
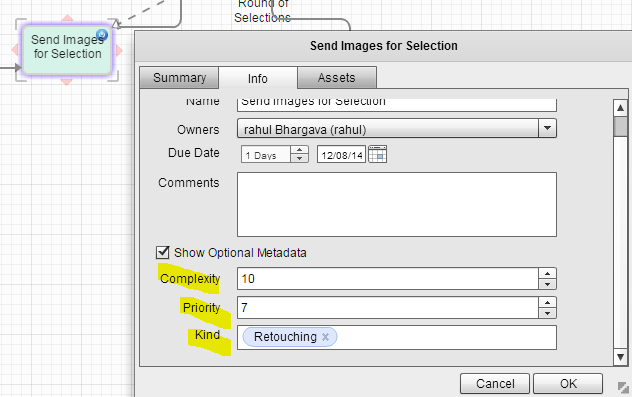
- You can fill in the metadata fields and/or view and edit existing metadata values.
- The metadata values are saved along with the job when clicking on the Save button of the workflow editor.
- The task metadata fields will be visible in the task manager when you click on a specific task
How to Analyse Workflow Performance using Workflow Metadata
- The Zoom Workflow Analytics reports allow for the use of custom workflow metadata in categorizing as well as filtering jobs.
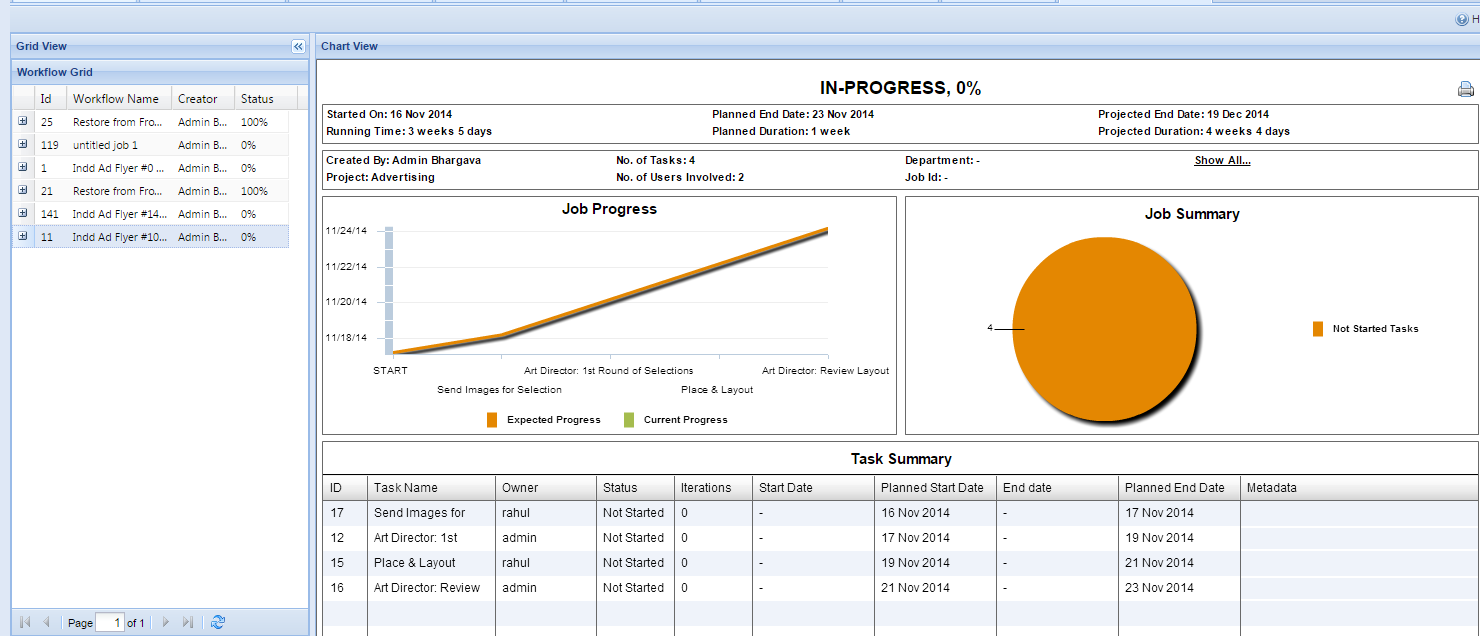
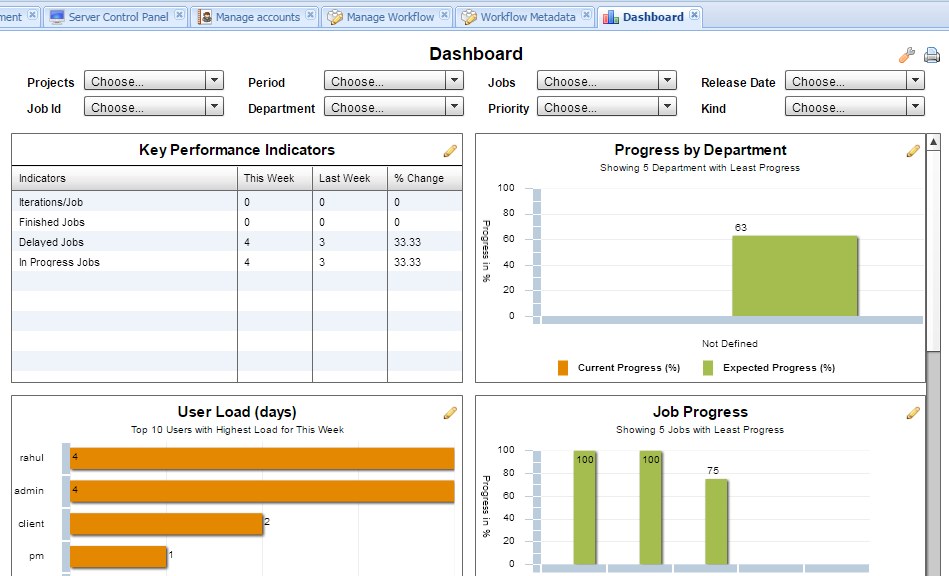
- The Dashboard report provides workflow metadata filters in the top bar. Further, charts such as Progress by Metadata and Job Metadata Distribution, display specific metadata-based information. The metadata scheme being displayed by these charts can be changed from the chart config. To view and change any chart’s config, click on the ‘pencil‘ edit icon on the chart’s top-right corner.
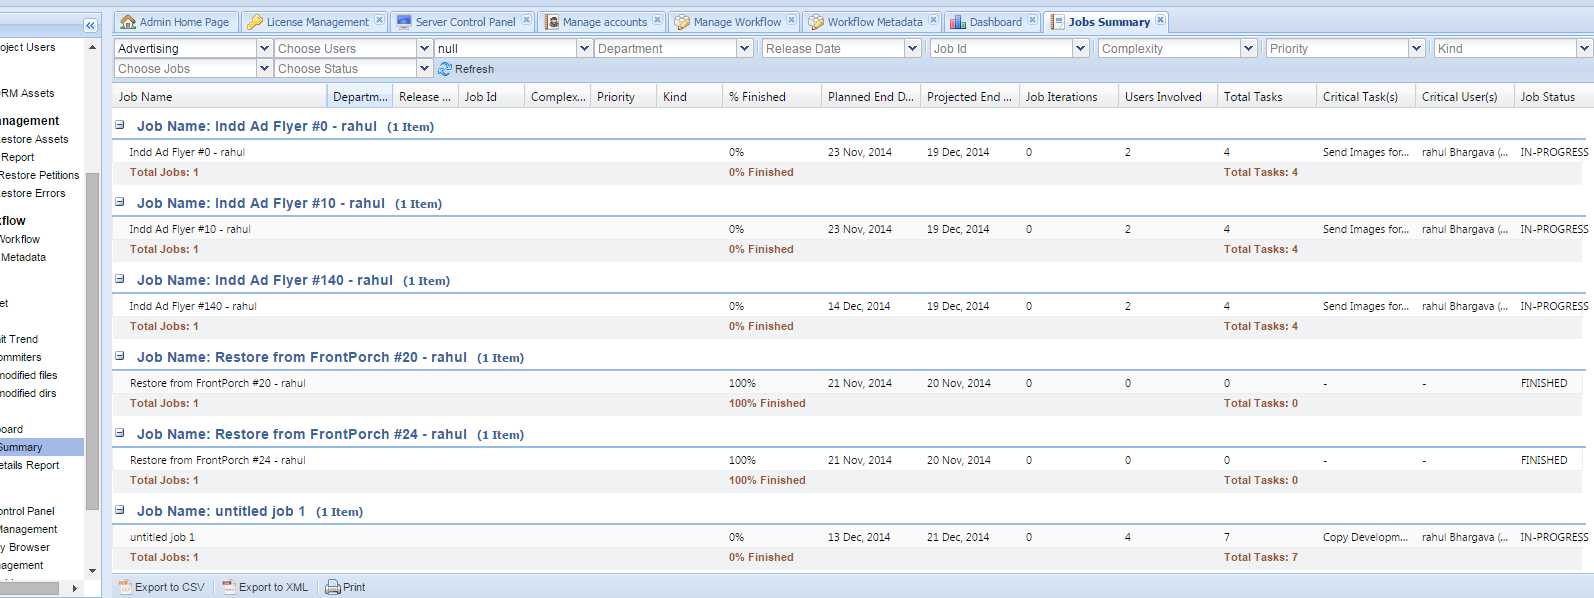
- The Jobs Summary report provides a summary of all jobs, including their custom metadata. Filtering as well as grouping of jobs can be done using the custom metadata.
- The Job Details report displays the custom metadata information of each job in the top panel, along with other job information.